If you did enough work with cars you end up some day with the need of removing the engine, the very heart of any car. Think of it as heart surgery, but not entirely so complicated. Actually quite easy compared to many other car related tasks, but it’s a long job if you venture down this road.
So how do you take out the M110 engine from a Benz? I’ll teach you the dark arts of car surgery so stay with me in this dreadfully long post.
Always leave the transmission on the engine when pulling it out..
Theory
If you have either w123 or w126 the procedure is almost the exact same. The complication will be if you have an AC or not and small difference in wiring and placement around in the engine bay. Usually the bigger the engine the more difficult it is to get out since the space gets really tight and hard to get to places when removing stuff.
If you are doing major engine overhaul or need to do something with the transmission, it is best to just take out the engine with the transmission. Always leave the transmission on the engine when pulling it out even if just doing engine work.
Preparation
Preparation is key like most things in life. Don’t plan to use your car in the next few days, or a week if you are new to car fixing. Taking out the engine can be done in under a day and putting it just takes a bit more time. This is definitely a job where more people can be helpful, so go get your buddies and offer them some beers.
You need to acquire an engine lifter also called an elephant jack, and some good quality lifting chain and shackles that are rated for some hundred kgs (I think the M110 is not heavier than 300kg, but you have to cross check that since I don’t have the exact numbers). A very nice tool to have is an engine tilter which you can hang from the lifter. It will make your life easier since the engine needs to get out of the engine bay beam at a very tilted angle, but it is doable without. I made it without, but it required some wrestling and tryouts with different chain lengths.
Other than that you basically need some jack stands and a basic socket tool set, and of course patience which is found at the bottom of the beer glass.
SAFETY WARNING:
NEVER crawl under or have any body parts like your arm, or place your friends under the hanging engine and crane while lifting the engine. Then you won’t come at harm if the lifting mechanism should fail and the entire engine come smashing down. The engine will be needed to be lifted quite high to get over the front support beam in the engine bay and you must take lifting heavy objects very seriously. Also try to minimize the time of the actual lift, not leaving the engine hanging, but setting it down as fast as you have it outside the engine bay. This will minimize the time of potential hazards hanging from the crane.
Practice
Procedure
The first thing you will do is to remove the battery and start to drain engine fluids. You will be removing oil and coolant hoses connected to the engine. Start with the engine coolant, open the heater switches to full heating then drain fluid via the radiator drain and the engine block drain. Check out How to do a coolant change on the M110 engine. Remember to put the caps back in in order to not loose them and to prevent dirt from entering the system.
Then drain the oil sump. When it has drained disconnect the hoses to the oil cooler next to the radiator, lots of oil will come dripping out of here as well so watch out.
It is not necessary to drain out all the automatic transmission fluid if you do not plan to do any transmission related job.
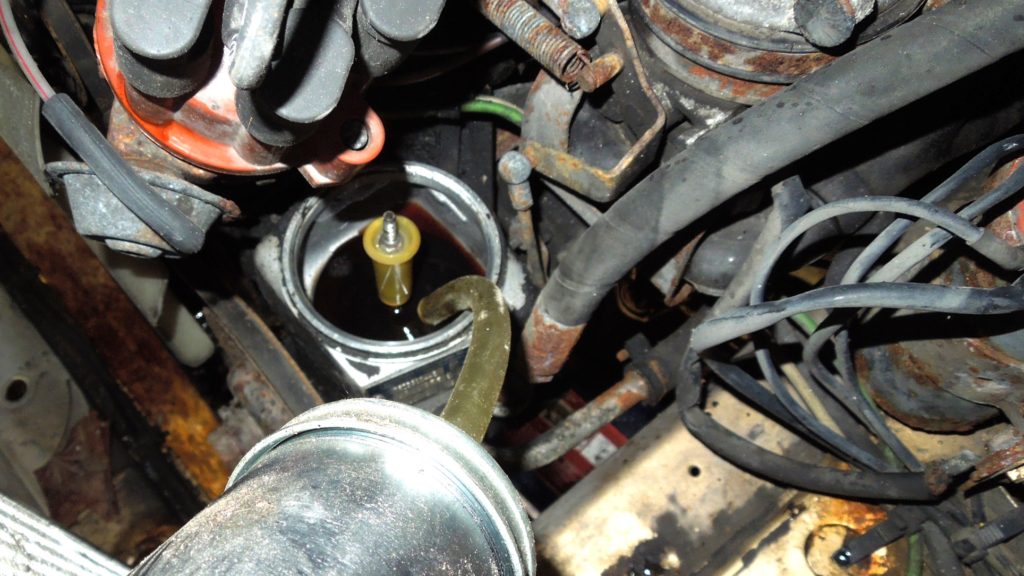
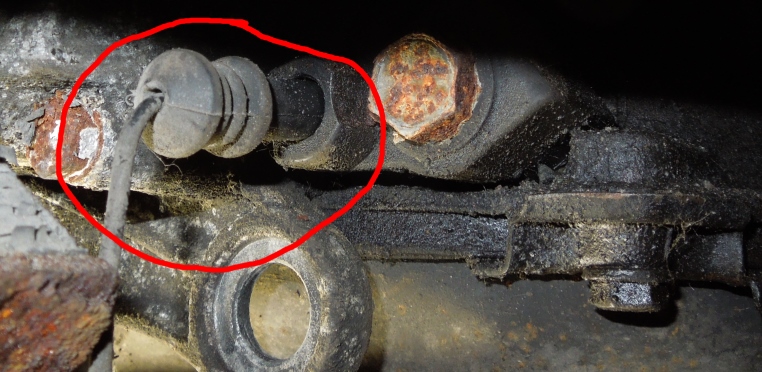
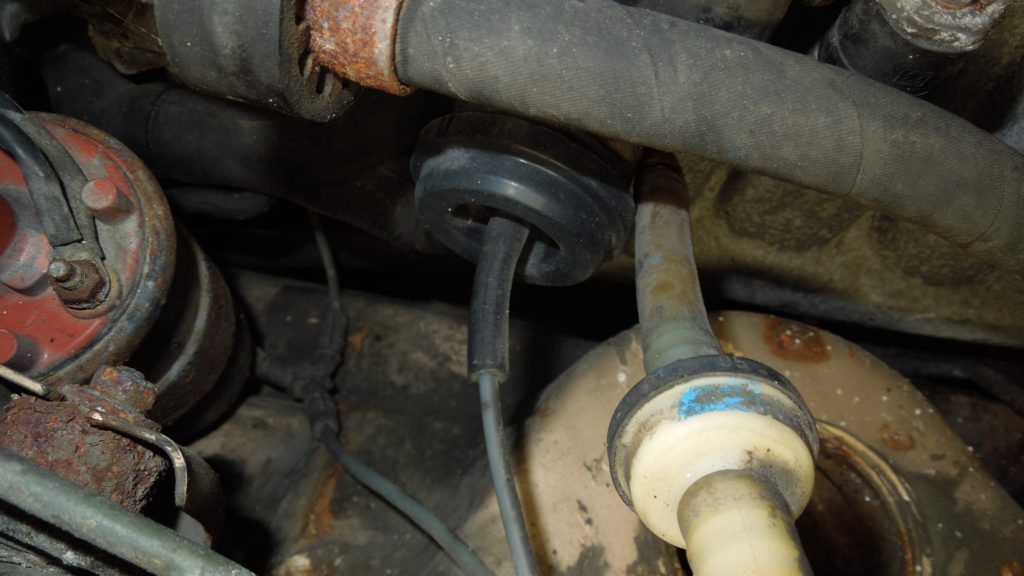
The third liquid to drain is the power steering fluid. Open the power steering reservoir cap and suck out the oil with a oil sucking pump. When empty disconnect the hoses to the power steering reservoir and be ready for more of this oil to come leaking out of both the reservoir and the steering box. Sometimes the hoses can be tricky to get off while the engine is still in the car. I could only get one off and had to connect the second hose when the engine was lifted slightly up.

If your car has an automatic transmission, the fluid is also cooled via the lower radiator and connected with two flexible hoses. It is not necessary to drain out all the automatic transmission fluid if you do not plan to do any transmission related job. Instead, when the car is standing level, disconnect the two flexible hoses from the hard lines which transports the fluid to the radiator. Some fluid will come dripping out, mostly from the radiator. Carefully clean the tips of both hard lines, then cover them securely with duct tape sealing the holes to prevent more fluid to leak out and preventing dirt to enter. This way you are not needed to drain the automatic transmission fluid which takes forever.
After the fluids are drained, start by removing the engine two coolant hoses connected to the radiator and all heater hoses connected to the chassis.
After the hoses are disconnected, the exhaust is needed to be removed. I really dislike this part since it involves heavy and big parts. Now you need to raise the car up on jack stands for access. I personally use ramps for the front wheel so I can just drive the front up, and then raise the back end up on stands. For me this is much quicker. If you have a car lift, then bless you sir.
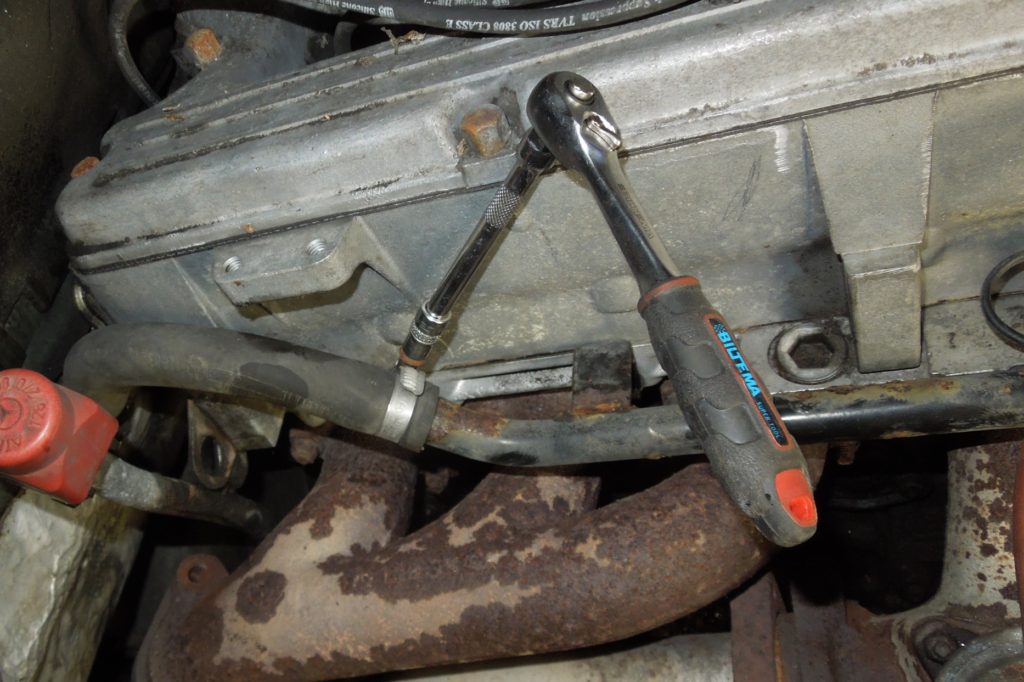
With car up on jack stands, the exhaust needs to be loosened at the manifolds. You only need to loosen four bolts when you have the twin pipes, but they can be a pain in the butt since they always are rusty due to the heat.
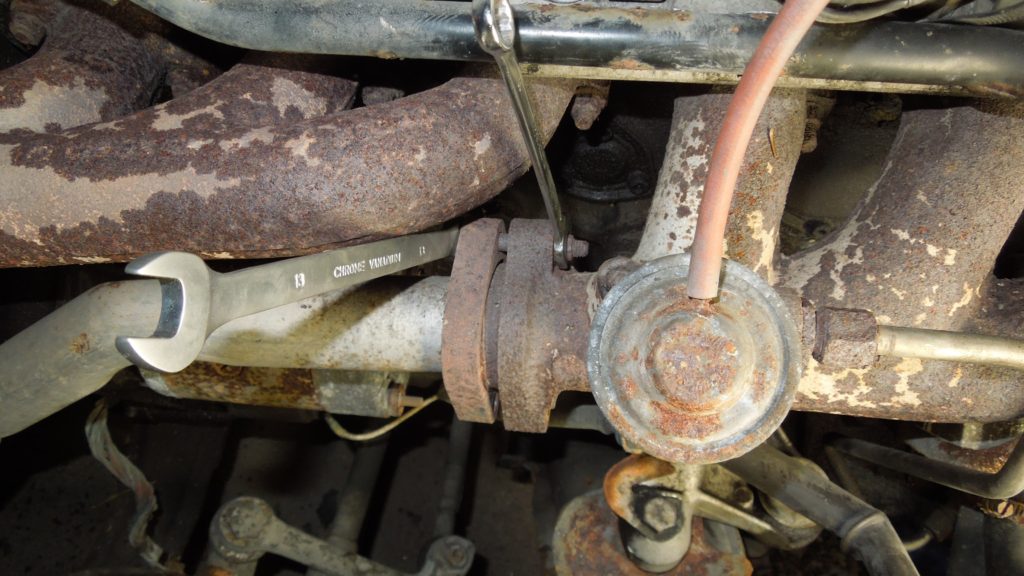
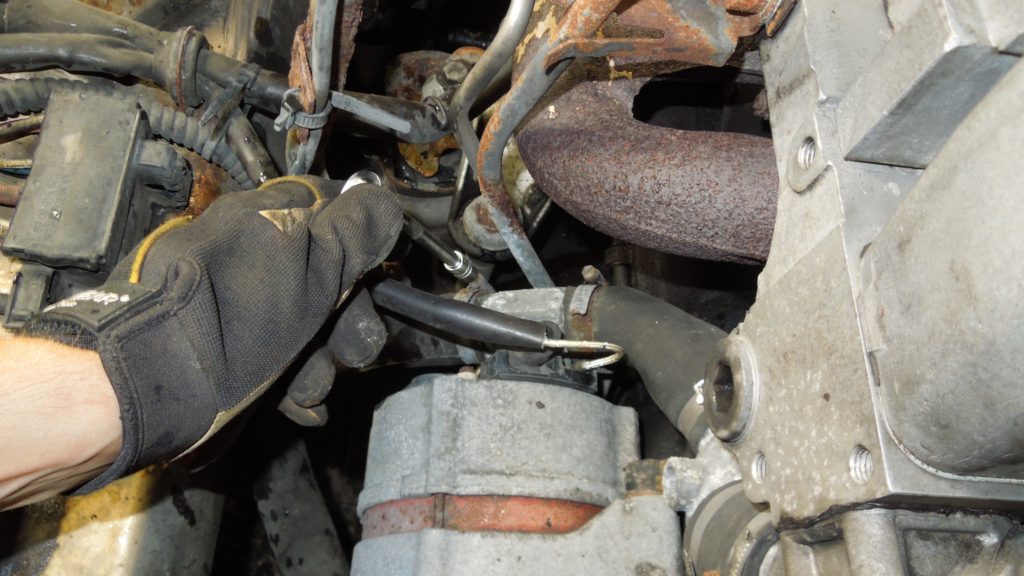
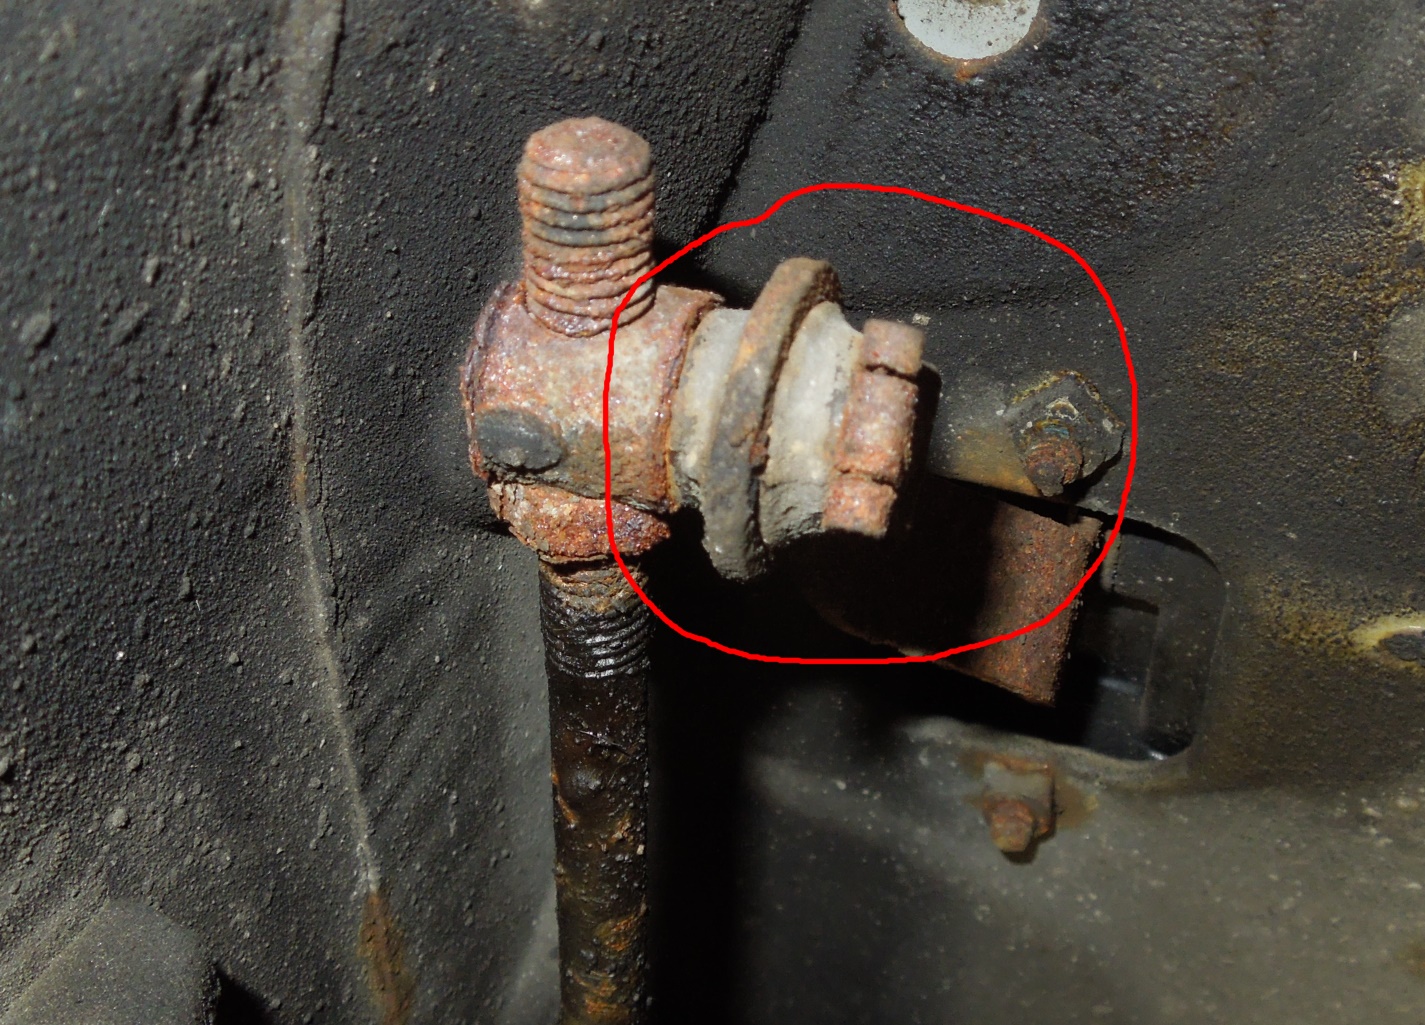
When the manifold bolts are loosed, support the front end of the exhaust from under the car before you loosen the exhaust support that is on the transmission. Now the exhaust is only hanging by the rubber donuts at the back and sitting on the support at the front. One last thing to loosen before you remove the exhaust, is to completely is to remove the starter motor ground cable, which the exhaust pipe can get stuck at when you try to drag it out from the back of the car.
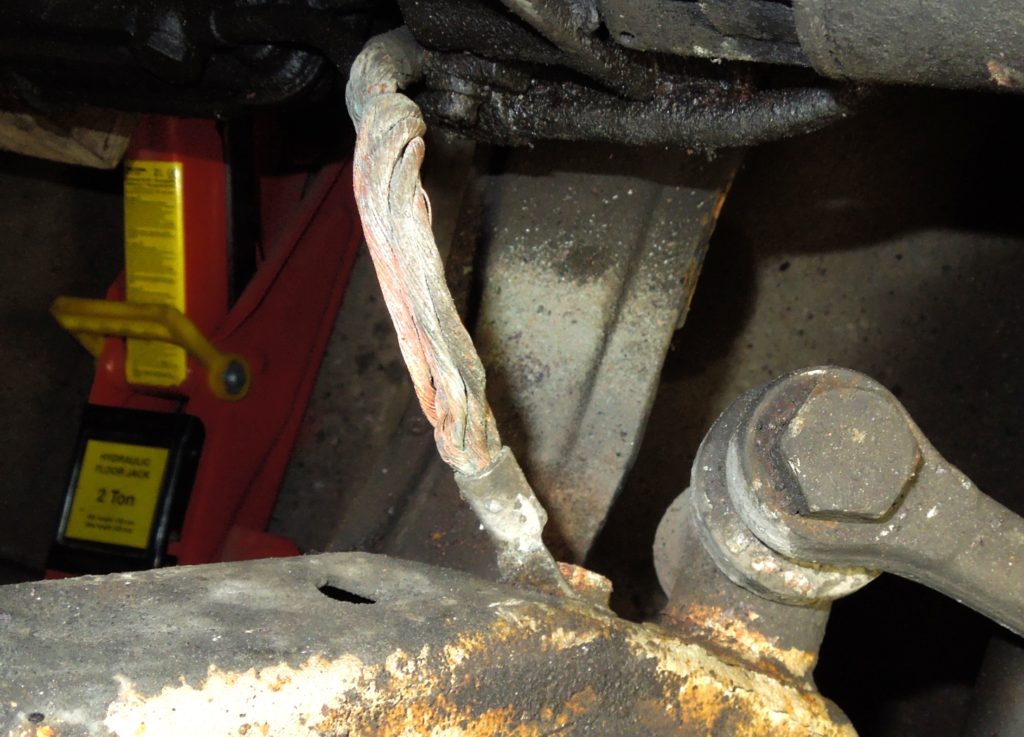
When the starter motor ground cable is loosened, lower the exhaust to the ground with removing your front support and removing/ cutting the rubber hangers. Be careful so it doesn’t fall on you since the exhaust system is very heavy. You should have some help when removing the exhaust system. Finish by dragging the exhaust out from the rear of the car while rotating it sideways so the front pipes don’t get stuck.
Also make sure the automatic transmission is set to neutral to prevent stresses internally if the transmission is set to park (the flex-disc bushing bolts are usually set to very high torque..
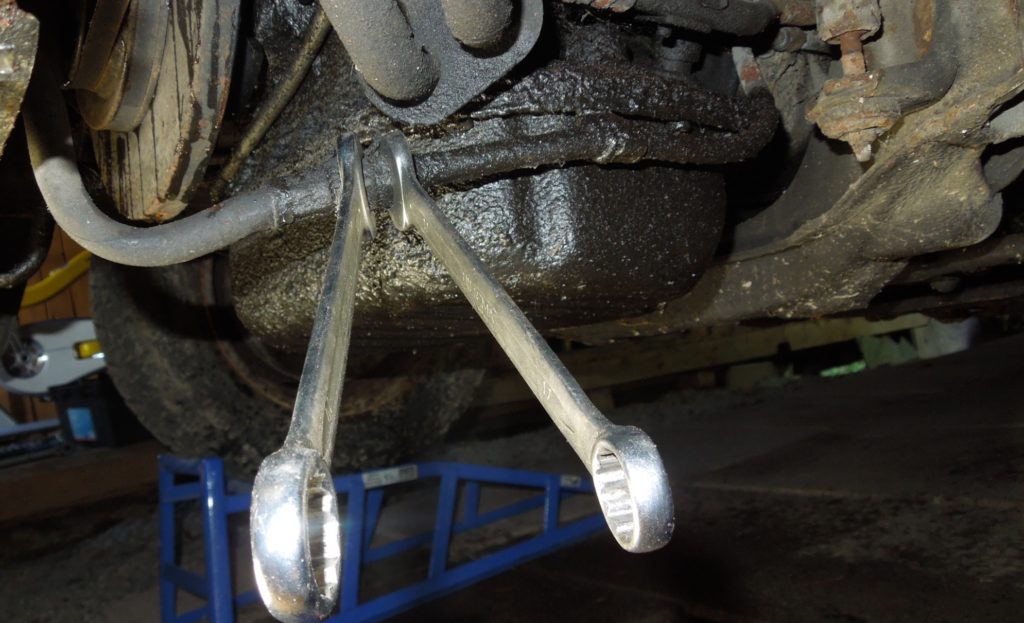
Now with the exhaust removed the fun part starts. The drive shaft has to be disconnected from the rear of the transmission output. First remove all the aluminum heat covers under the car. Block the back wheels from turning, by handbrake or the pedal brake or whatever, this to prevent the shaft from turning when you loosen the bolts. Also make sure the automatic transmission is set to neutral to prevent stresses internally if the transmission is set to park (the flex-disc bushing bolts are usually set to very high torque + corrosion). Loosen the drive shaft collapsing bolt first, which is located just in front of the center rubber bearing. This way you are able to collapse the drive shaft and remove the front part from the transmission later. Before removing the flex disk nuts, it’s a good idea to remove the transmission back support plate to get greater access with spanners, just remember to support support the weight of the transmission with a jack, slightly raising it so it won’t fall down when you remove the plate along with the rubber mounting to the transmission. Then finish by loosen the 3 flex-disc nuts that are connected to the drive shaft. The other three nuts you can leave in and the flex-disc will stay on the transmission while pulling out the engine. Check out How to Remove the Propeller Drive shaft.
Hopefully you managed to loosen the front drive shaft without too much effort and being strong like some 80s hero. While you’re already under the car, it is a good time to disconnect the three control wires that are connected to the transmissions along with the shifter rod. Place them out of the way of the transmission so they will not get caught or stuck later.


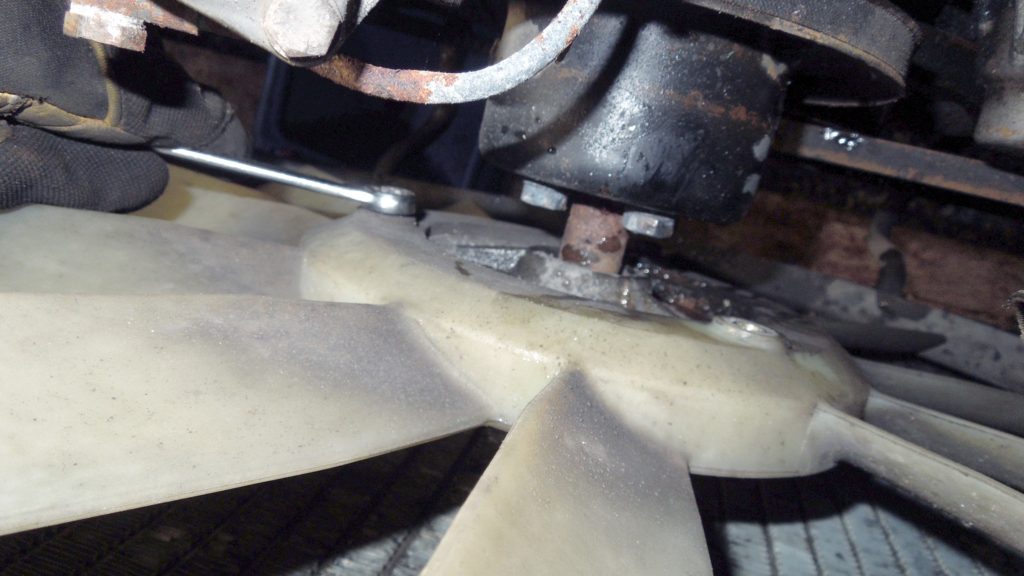
When you’re done with the transmission cables, it’s the time to remove the radiator and the oil cooler. They are held only with clamps and are easy to remove. However the fan needs to be loosened before the radiator can be pulled out. Take care of the sharp fins on the radiator to not cut yourself or to ruin it if you want to reuse the radiator.
When you think you have removed all the hoses and wires that are connected to the engine, then check again, and then recheck the recheck.
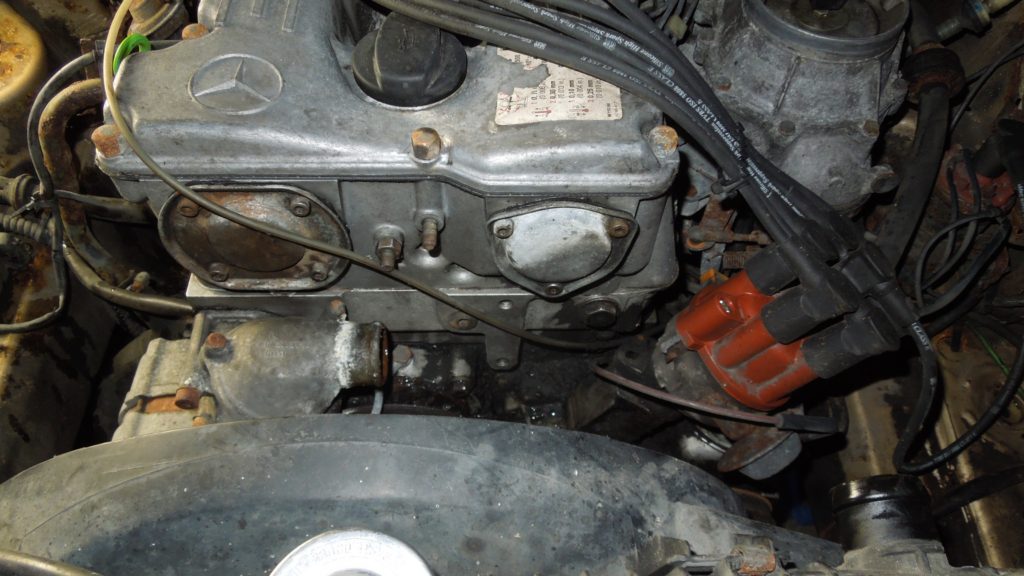
There are many wires around the top of the engine, like grounding wires and other various wires and hard vacuum lines. Before you start removing all the cables and vacuum lines, and there is a lot of them, use a camera or write down which one goes where in order for you to remember, then the reassembly will be much less frustrating! You can for instance write on a piece of tape what the wire is connected to and tape it around the wire. Make sure all the wires and vacuum lines that are connected to the chassis are disconnected before removing the engine, otherwise they will be ripped out and broken easily. I will not show all the images of every wire here, but will show some example pictures.


When you think you have removed all the hoses and wires that are connected to the engine, then check again, and then recheck the recheck. It might be a good idea to have an extra pair of eyes. Do not rush it.
Ok, so are you ready to remove the engine? No!! You have to unbolt the engine mounts to free the engine from the chassis first! Do not worry, the engine will not move or fall off while you do this. I do not have the picture here, but you need to unbolt from the underside of the car. There are one hex bolt on each side up inside some holes, use a torch to see them, and an extender for your hexagon bits. The are sitting there quite hard, so make sure you have the hex tool fully inside the bolt before applying force. If you round off these bolts you will have a huge problem! Once they both are removed, the engine is free from it’s base. Lower the car unto the floor again down from the jack stands.
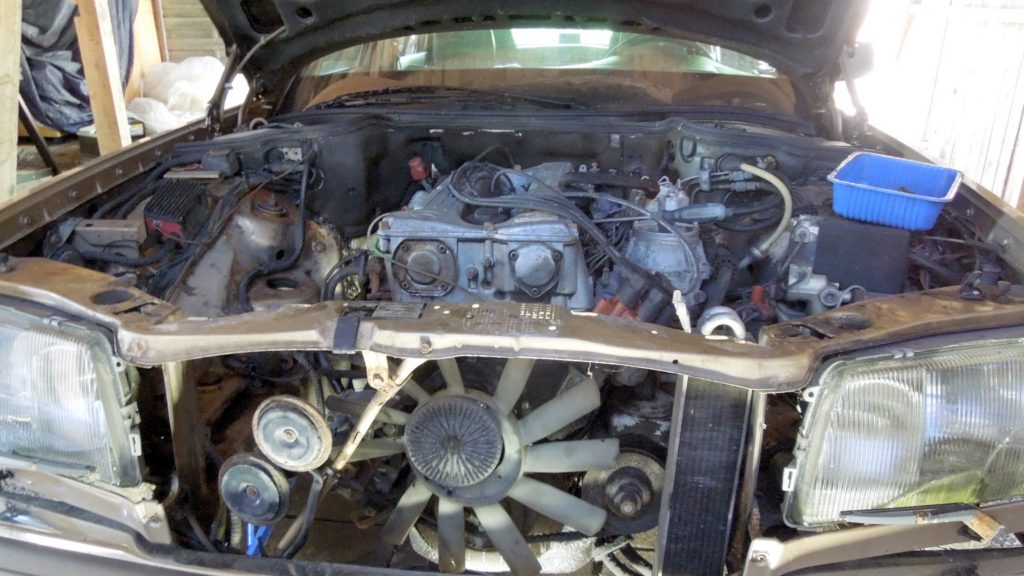
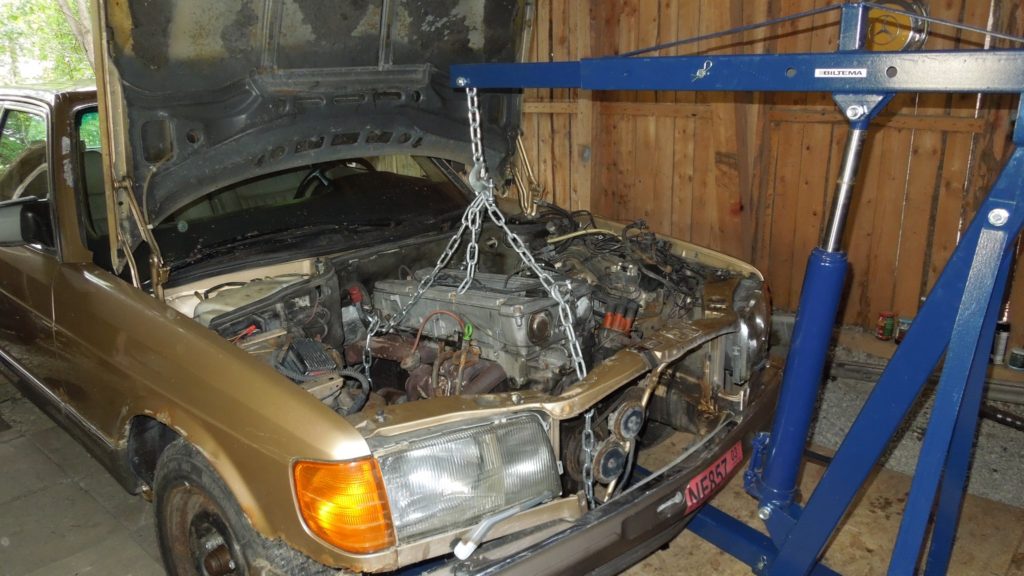
Now and the engine can be pulled out. Move the front bonnet in the vertical upright position, in that way there is no need to remove the hood of the car. The bonnet mechanism is an ingenious design by Benz.
Move your elephant jack in position and use shackles to fasten the engine to the chain, the chain thick enough to withstand at least 300 kg. There are two “ears” which you can fasten to the engine at the rear, and one “ear” at the front of the engine. Take care to not damage any of the injector hard lines that are very close at the right side of the engine, if needed bend them a little to make more room for the shackles. The best would be to use an engine tilter to secure the chains in, but I didn’t have this tool, but it went fine without it, then you just more rely on a helping hand. Since I did not have the engine tilter, I adjusted the chain to be shorter at the front than at the rear ones, so the engine will tilt upwards at the front, in order to get the front part of the engine above the front chassis, and also lower the transmission under the firewall.
Slowly start lifting the engine with the jack, also making sure the transmission do not hit the ground or it gets stuck at the underside of the car. Make sure all wires are out of the way and they don’t get caught on something. Basically continue until the engine is high enough so it clears the front chassis frame, you might also need to shift the car a little back and forth by pushing it, obviously having the park brake off since you need to move the car often.
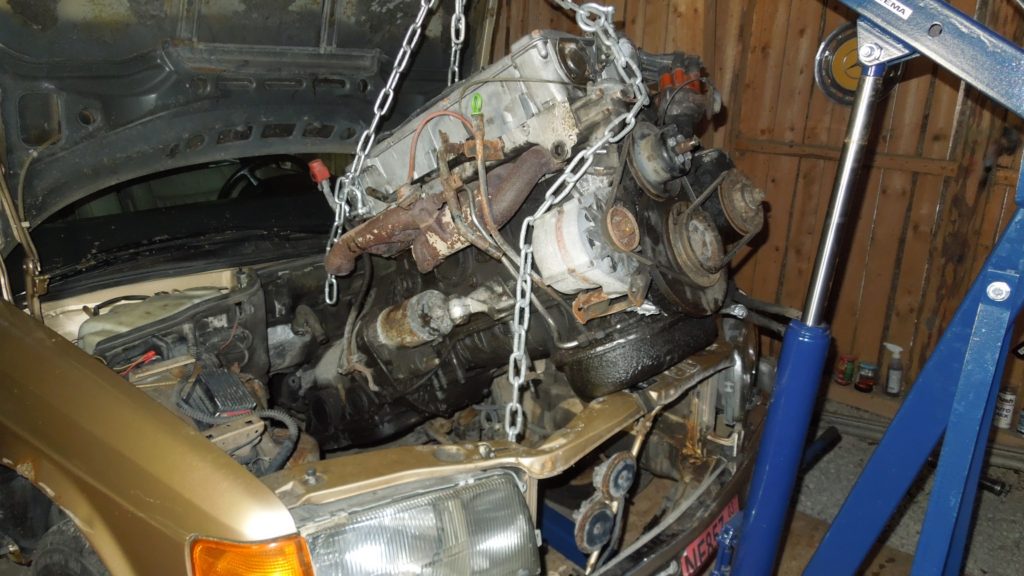
Never ever move the engine lifter while the engine is hanging high up. Just push the car backwards when the engine is high enough and immediately lower the engine so it sits just inches above the ground. Then you can start moving the engine it a bit around, but put it down somewhere safe as fast as possible.
I hope you liked the procedure, now go out and actually do it, cheers!
Cheers, Robs out!

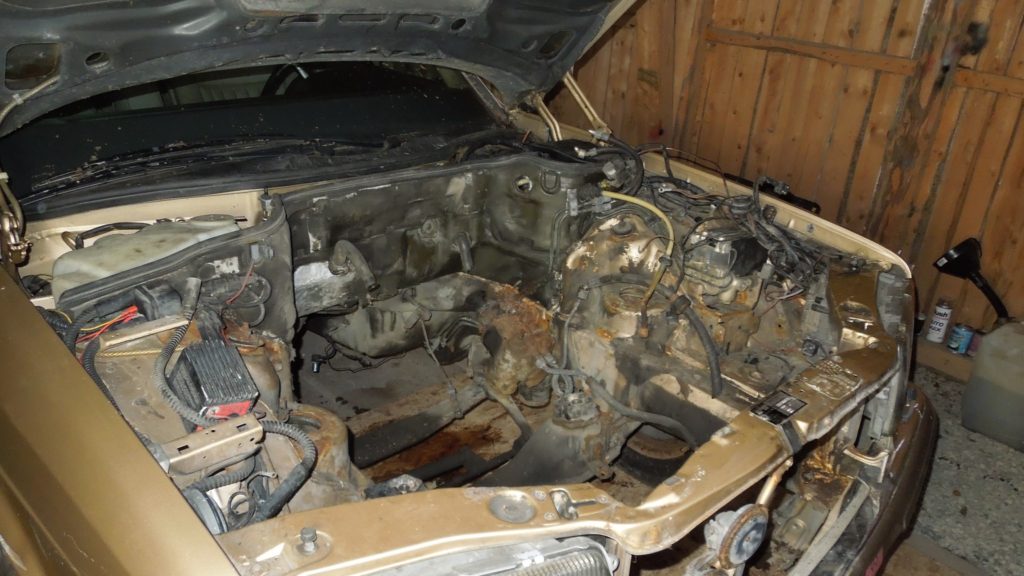
Back ground story of this engine pull out
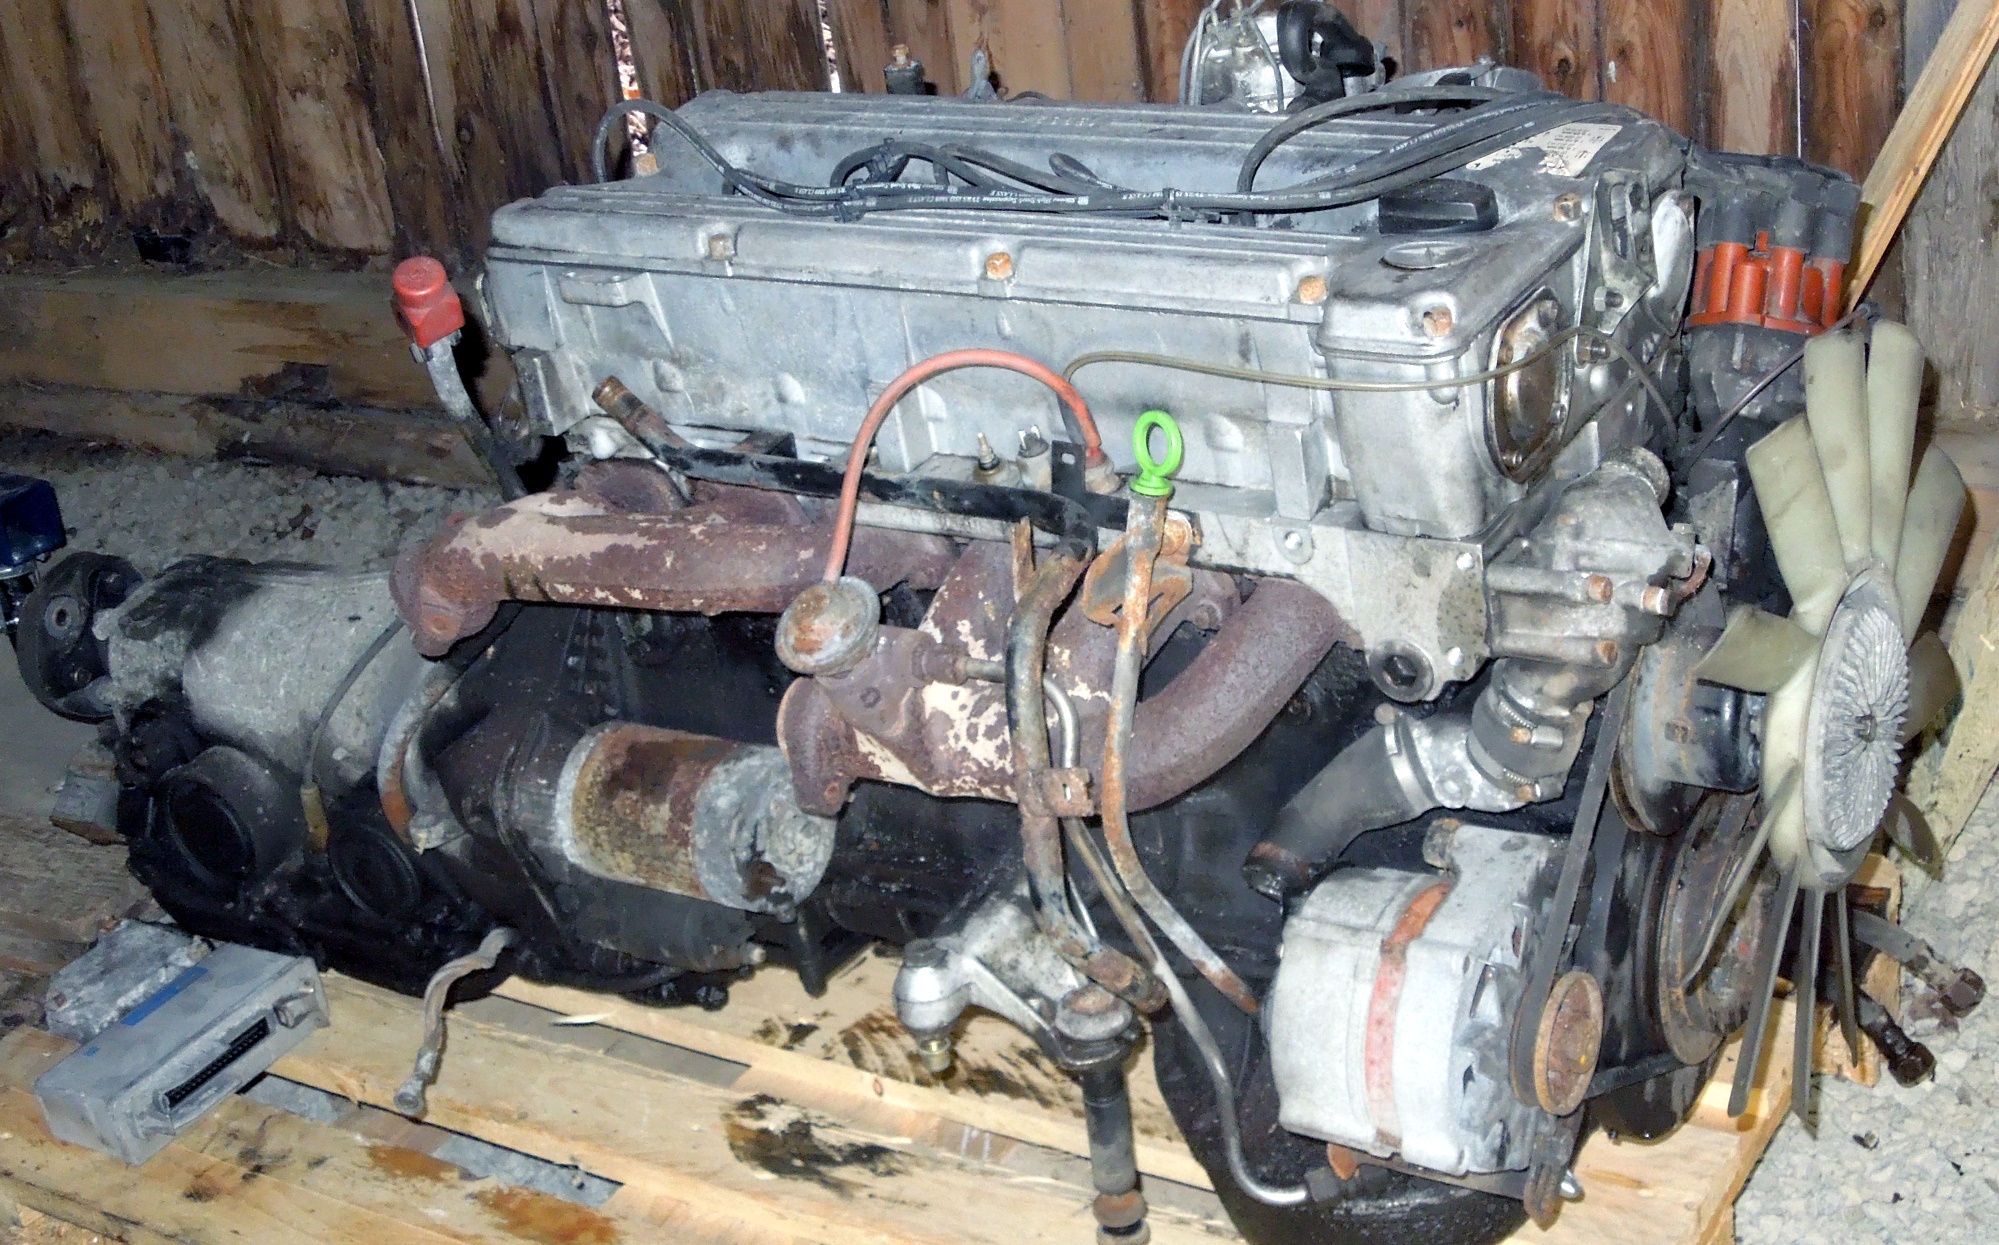
Over the summer back in 2015 I had one goal with dealing with cars and that was to pull a M110 engine and transmission out of the rusty 280SE that had been standing still and taking up space for some years already. The car was destined to be scrapped due to rust, but the condition of the engine and transmission is surprisingly good after over 300.000 kilometers. So I got to it and pulled the engine with the transmission out and then the rest of the car got scrapped. Good riddance, it’s a huge car taking up space for nothing.