The restoration battle has been won
Me 1 – Car 0
The car is welded, put together again and finished! Who would believe that? I am super proud of my own work. I managed to strip downm weld and then assemble the car on a tight schedule. In the process I learned how to weld body panels. I in fact learned so much through this project that I know tons of new stuff about W123s. This job was the inspiration to create this very site.
The project included the tricky disassembly of the whole rear sub frame and drive train with following refurbish. This has been almost two years of work, although with large gaps between quite intensive working periods.
Which areas did I end up welding? I couldn’t cover all of them in the blog.
- Front and left wall in the front seat foot area, the part that let water into the floor.
- Three of the jack point areas. Welding Jack Point Area
- Inner wheel wells at the rear with rubber brackets. Welding Wheel well
- Right rear wheel arch. Welding the Wheel Arch
- A hole in the left backseat floor.
- Left lower body panel under quarter window, including canal section at the same place. Welding water drains for rear window
- Left and right side of lower trunk floor.
- Small holes near front lights and lower radiator bracket.
- A hole in the driver seat floor.
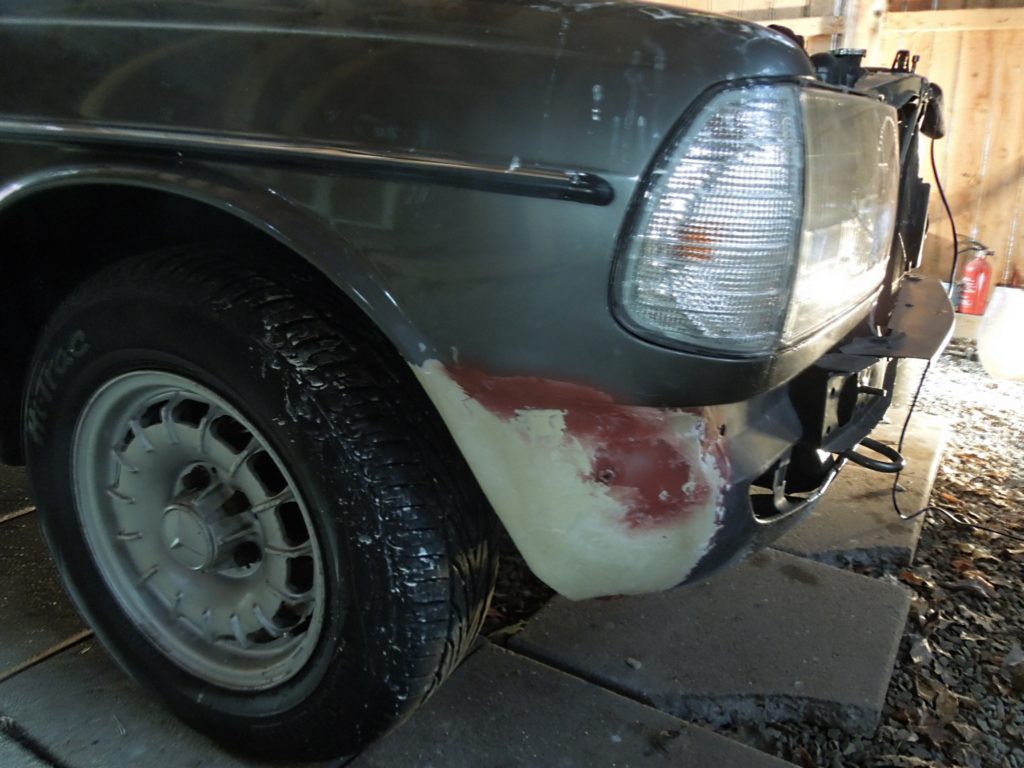
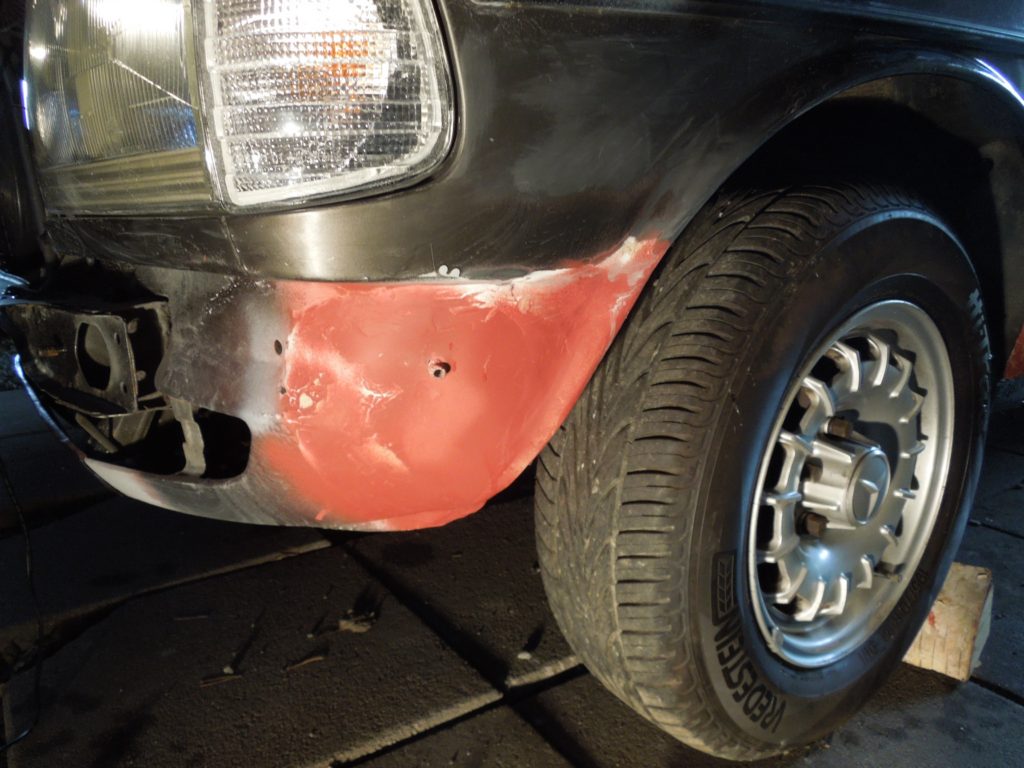
- Both front fenders. Welding the Front Fenders
Sounds like a lot, the issue was that it had many places with small holes, and with welding the job is just as long when it involves small or large areas. You still have to remove old metal, remove paint and body protector coating, maybe interior parts, cut out new metal piece and shape it, weld it in place, grind it, polish it and paint it. Same process over and over again.
What mechanical areas did I fix? The car was from before very mechanical sound and basically I just replaced rubber wearing parts.
- New flex disks for drive-shaft
- New center bearing and hanger for drive-shaft
- New upper control arms and sway bar bushings at the front suspension
- New shock absorbers, Bilstein original extra stiff for flatter cornering
- New fuel hard lines and rubber hoses
- New sway bar bushings and links rear
- New subframe rubber mounts
- New brake rotors and pads


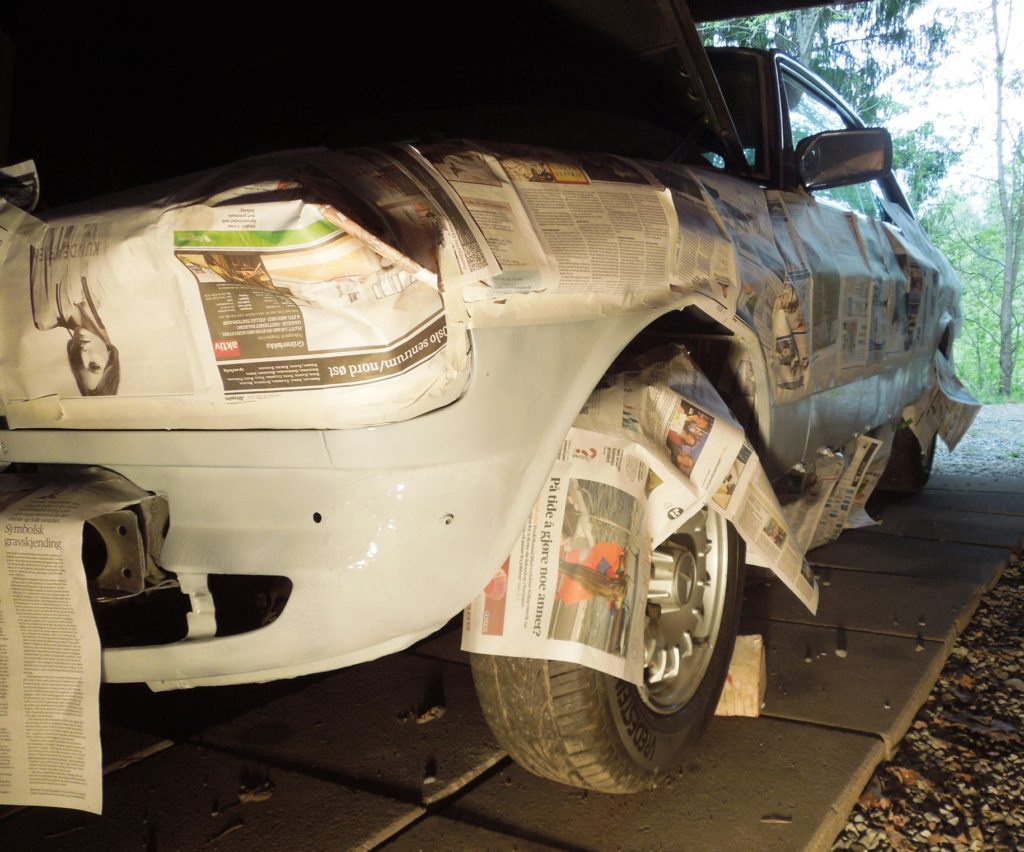
Basically all the lower sides and front needs repaint, these are areas not so visible, none the less I got some paint with the right color code (172).

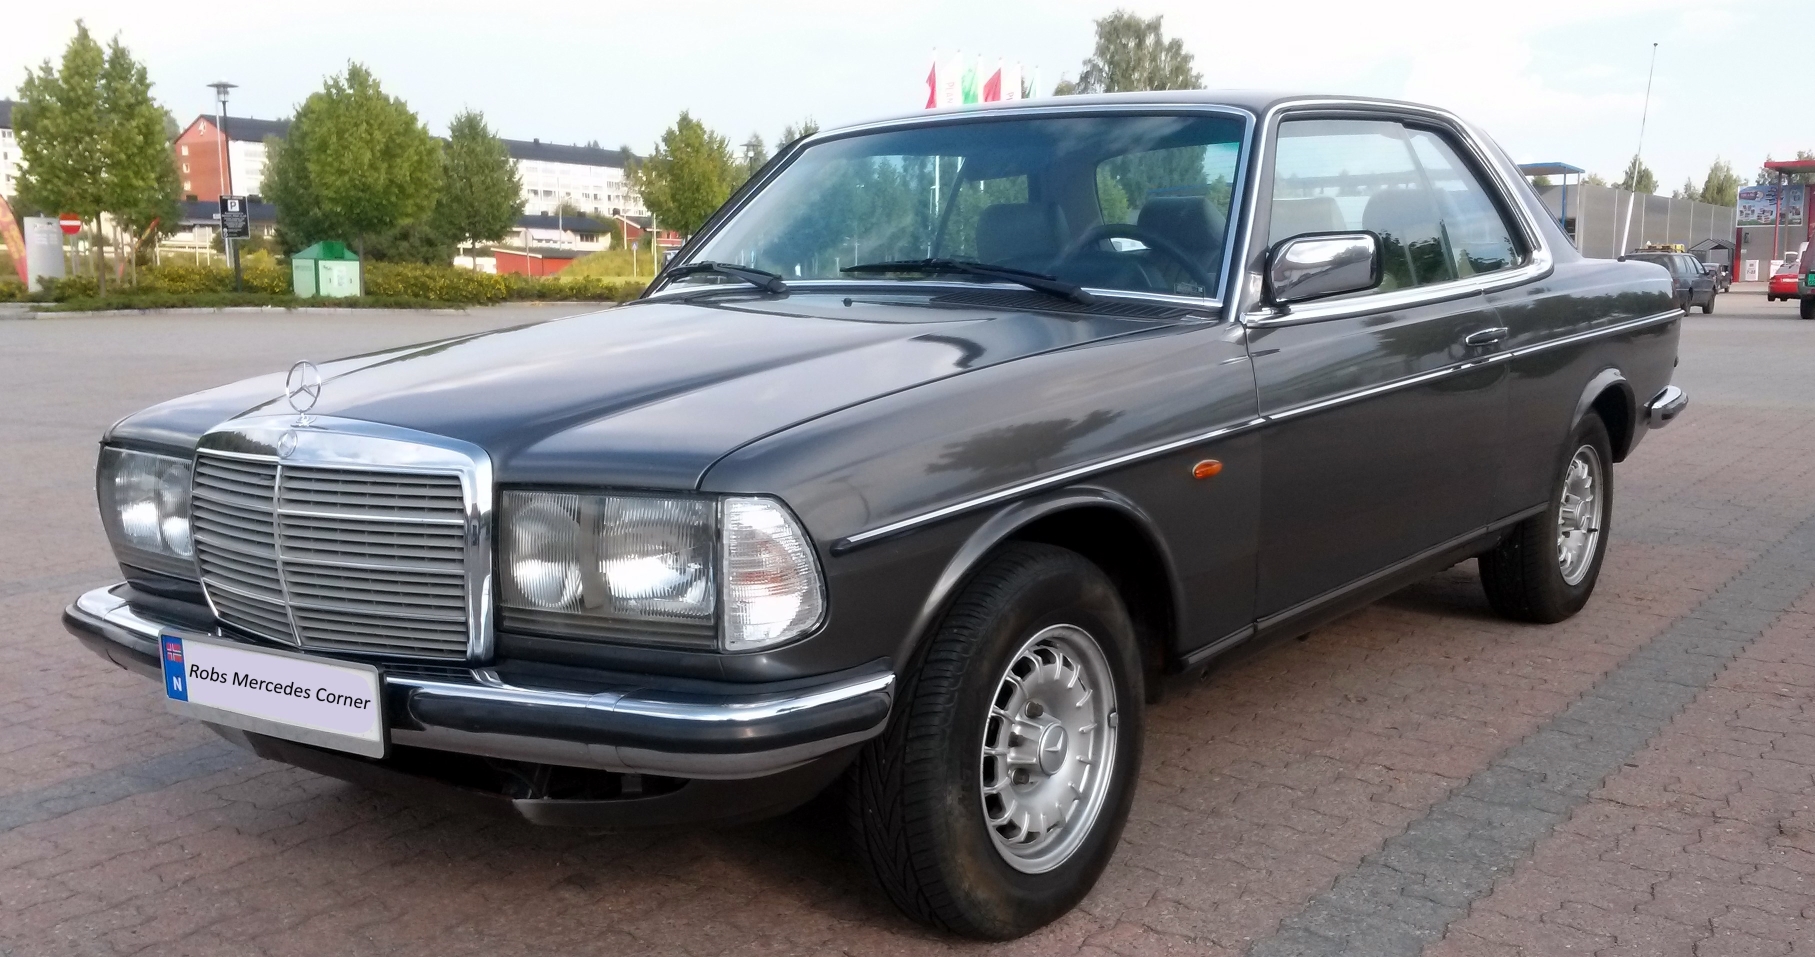
So what is the result? Well a car that looks really good and drives like like a new Mercedes. Super smooth and fast!
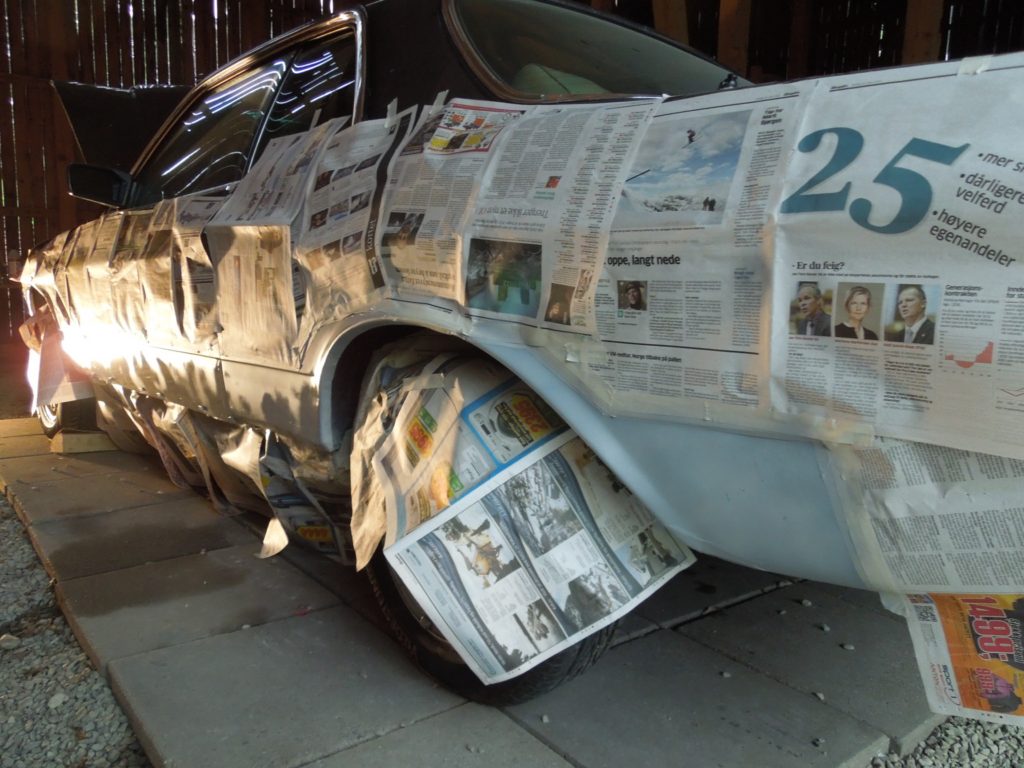
It went from looking like this in (2012):
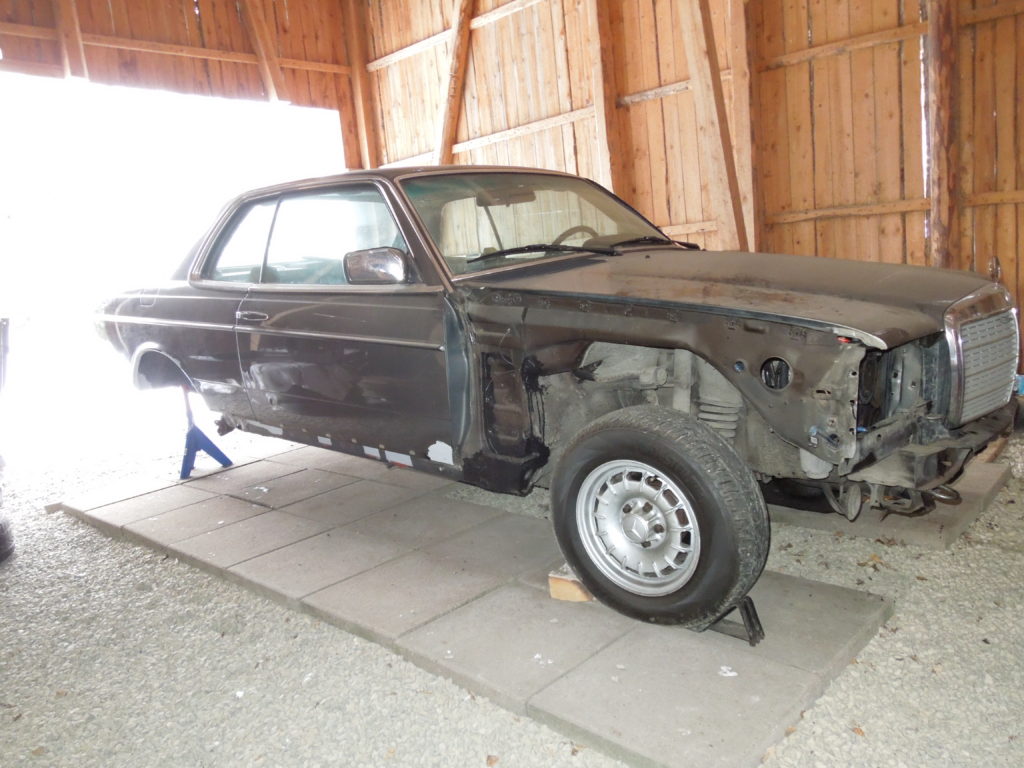
And one year after (2013):
