
It’s been a long time since last post, I blame SARS COVID-19! I hope you have not completely abandoned the site. So let’s start over if you have been just as disappointed as me. Other good news is that I have made big changes in my life since last time which means I can make more content more often for the site.
And if you are afraid that this car site has become a builders site, dont’ despair. New and exciting stuff are coming up very soon, such as DIY for the W140 S600, w123 280CE repairs and topping it off with a new more modern car. So stay tuned!
Last time we looked at the garage door it was without proper covering and it has in fact been like that all winter through. The door frame was also too close to the ground due to a measurement error. This made the door freeze during winter due to all the snow and ice collected under the door. Not very practical! And it was not really lockable without the help of the ice. Now over the summer time I have with the help of my dad and also my brothers, managed to completely finish the garage door. So what was the remaining process?
Fixing the height
First the temporary tarp had to be removed from the door. Sorry I forgot to take a picture of it before we removed it, but I promise it was not a beautiful sight. Then the door had to be taken down so we adjust the height. The height was simply shaved with 15cm to allow proper clearance to the ground this time around.

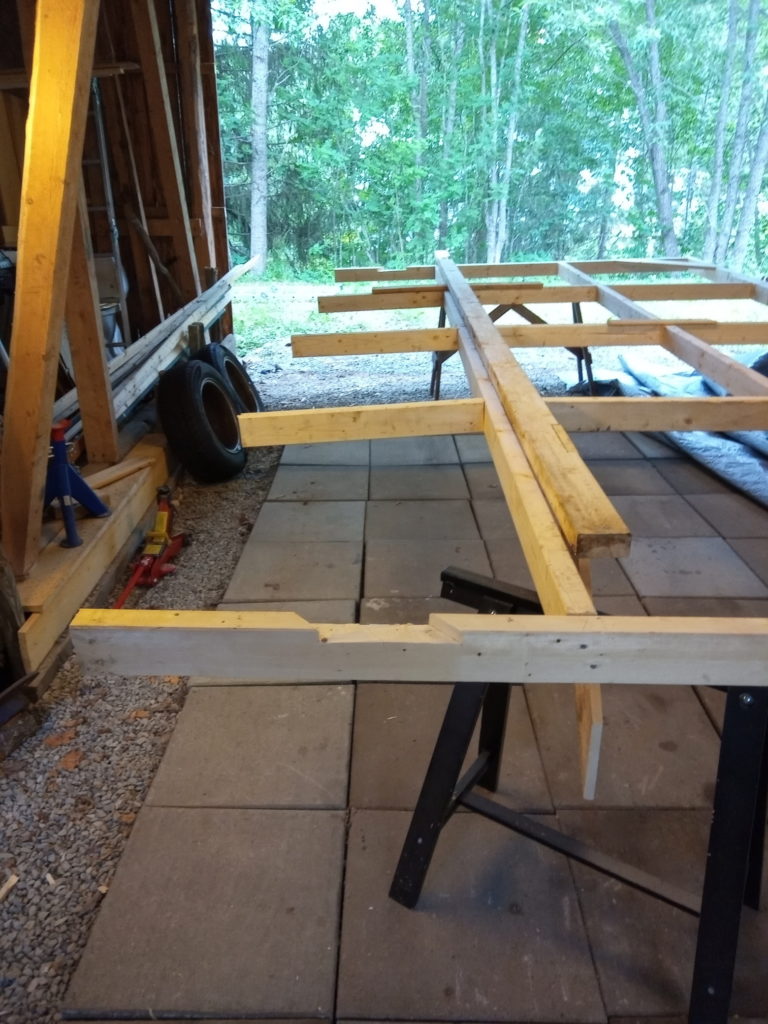
The diagonal slots also had to be expanded on the vertical beams to allow this new shorter height. After the bottom beam had been attached again to the frame it could be slid onto the wall again. The frame is just light enough so two people can wrestle it, so it’s important to add the panel after it’s mounted on the wall. Otherwise it will simply be too heavy to move. The door is still amazingly large by 5 m x 2.5 m.
Adding Panel
Adding panel is quite simple, but cutting the slightly different length boards in a manner that will produce the least amount of cutoff needed some measurement and planning. Also the cuts should be made with a repeating pattern on the walls o it does not look bad. The measurement of the garage door is 2.5 m height x 5 m width which required slightly over 100 meters of length of the type of wide boards we went for. Each of the boards from the hardware store are around 5 m in length. It turned out that we had enough long boards to alternate between full height and the rest to be divided between 2/3 height and 1/3 height. Making 3 different cuts to complicate stuff. It also complicated matter that each of the bottom edge of the door need cuts at an angle to allow water to effectively drip off if water rains in from the side.
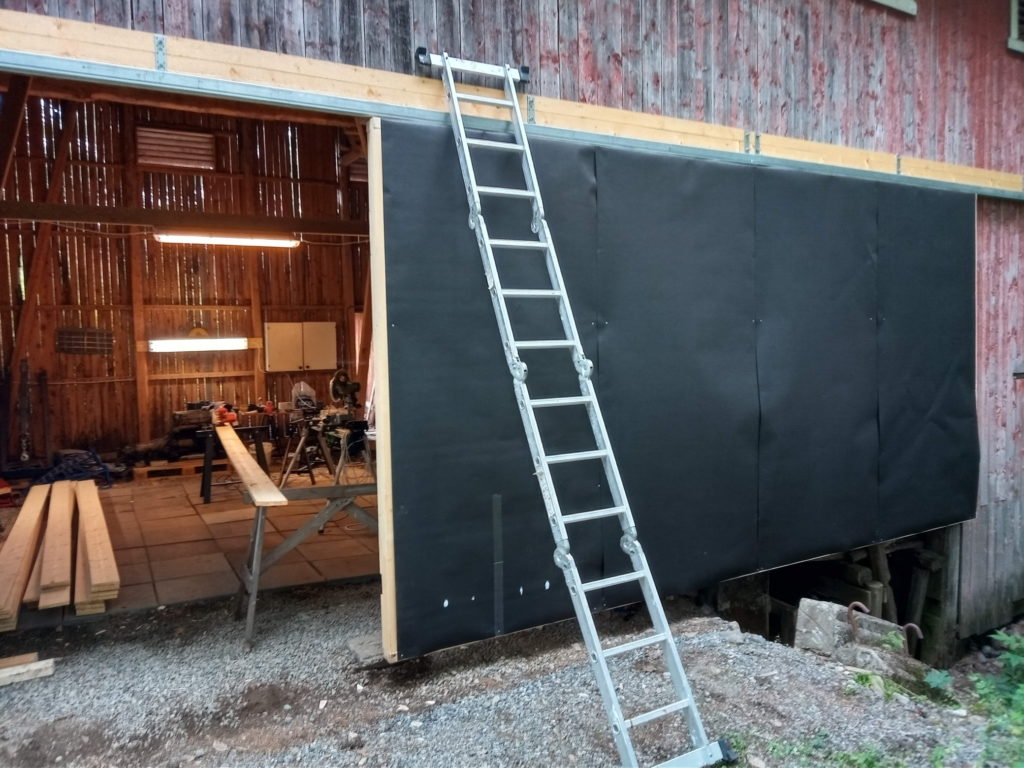
Since the boards will lie edge to edge, there will be an air gap between them, easily seen from the inside. So a roll of tar cardboard is applied and fastened before and under the outer panels. See for example the opposite wall of the barn, where light shines easily through. Gaps will also allow a lot of dust and insects pass through. Since this have been a hay-barn this makes sense, but now it’s mainly used as a car workshop and garage. The aim is to add this dust and light block surrounding the garage in the future. Many of the old boards needs to be replaced or painted anyway and it will be during this renovation process.
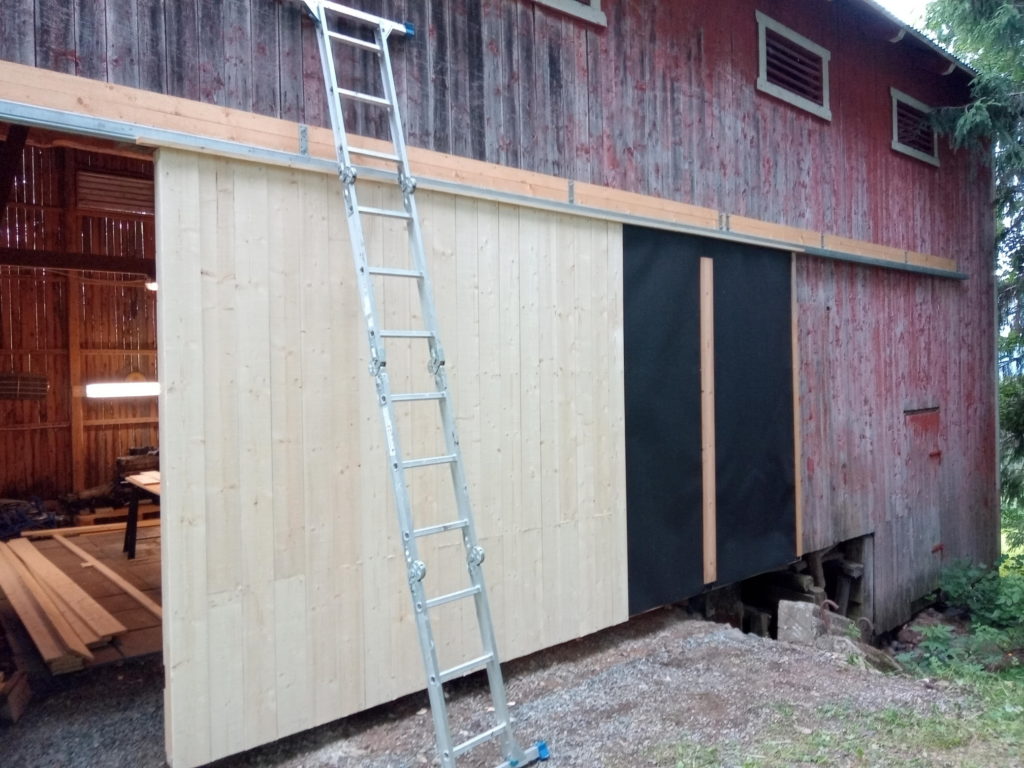
After the dust roll is applied. The panels can be nailed on. The most tedious process was to cut the boards to size and do all the measuring. This took maybe a couple of hours for the entire door. To secure the boards it is possible to use screws or nails. Both can be done with the aid of electric/air tools to save your hands, but here we used the old fashioned hammer and nails. When adding the panel to the door a minimum number of nails were used to just make them stick in position until all boards are attached.
When all were in place, the large nailing job could commence. This creates a lot of noise over a long time and I prefer using hearing protection to avoid ringing ears. The process was very tiring for both the arm and hand. After missing the head of the nail many times I got really bored. Next time I will use a nail gun like in the 21st century.
Painting
Painting were done in the classic barn red without the need of priming due to this kind of heavy paint. The painting was mostly done by the help of my brothers and was done in just a couple of hours while we created the door handle and roller system on the backside which aids in sliding the large door back and forth.
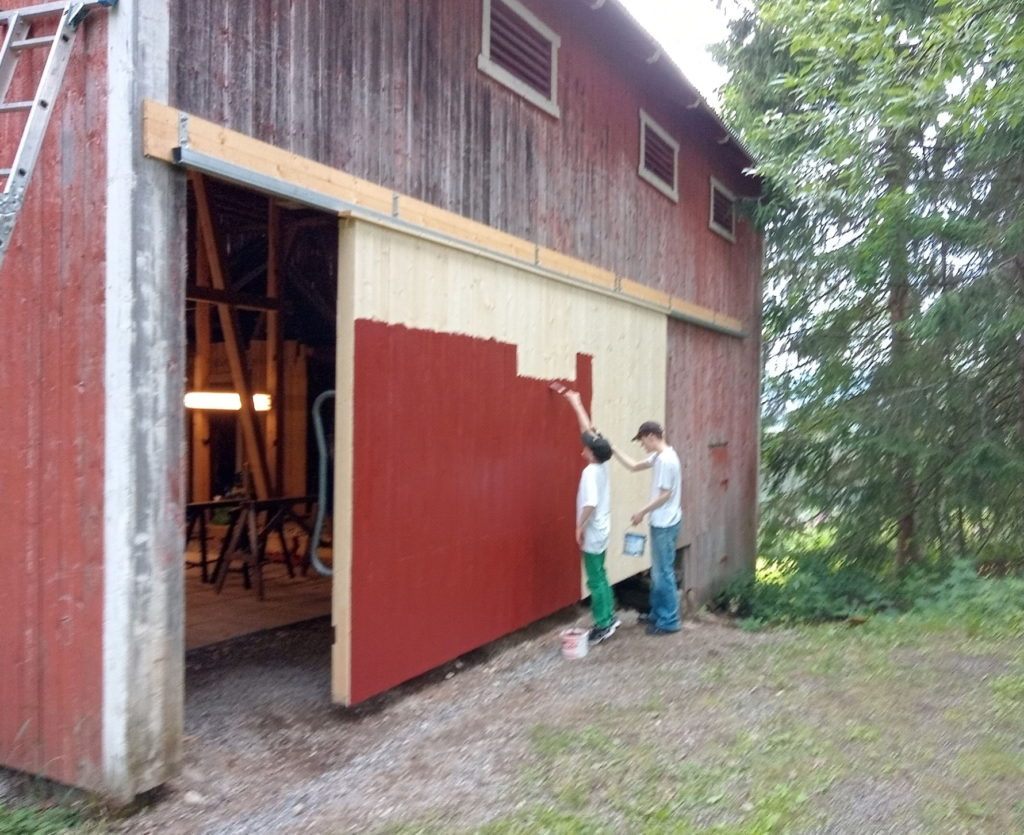
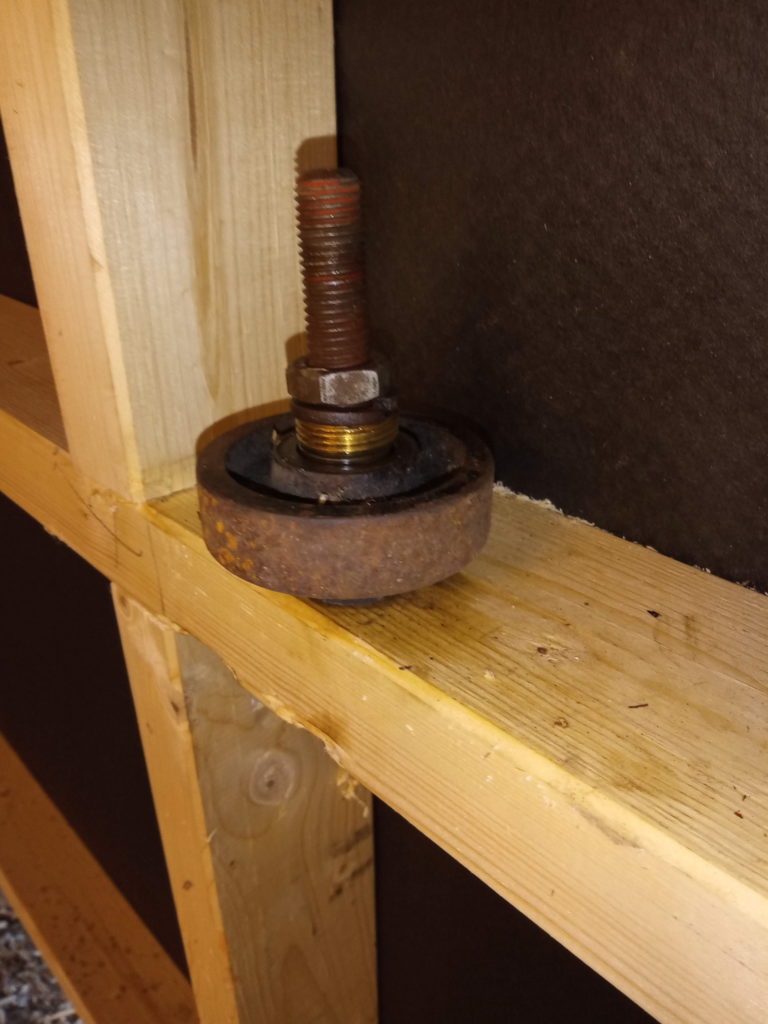
The rollers were taken from a broken garage jack and fitted inside the frame og the door. The rollers then slide on the outside of the barn wall when opening and closing the door. The door handle was reused from the legs of a broken trampoline. It’s nice to reuse stuff like this for something usable. Also it’s in with the environmentally friendly times.
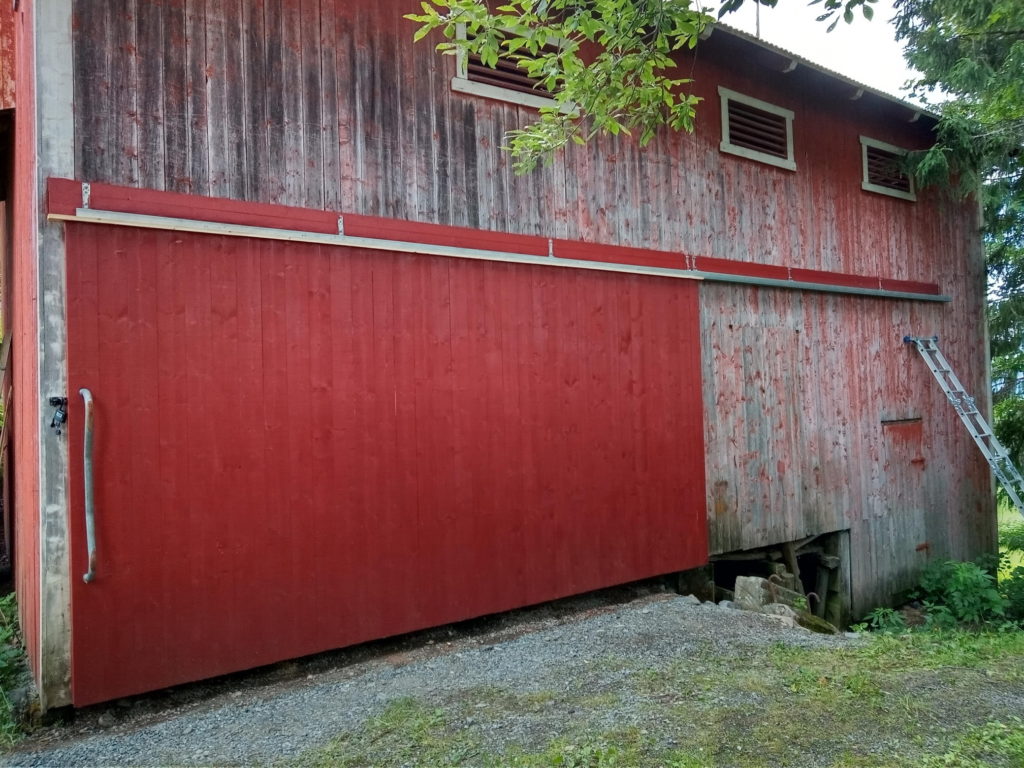
It’s Finished!
Finally the garage door is finished and we don’t need to wait another year for part 3! I’m quite pleased with the result and am less daunted to make further improvements to the garage and the barn. Next on the agenda is fixing some rot in one of the barn corners. Also improving the floor with perhaps some concrete will be done next year, but first fixing the rot is more important now. Also large parts of the exterior need to be repainted as well as some changing of rotted boards. At some point the barn needs a new roof, since it’s quite rusty already.
Robs out!